Combine the following ingredients together. Use at least 1 T. of the mixture per 1 pound of cooked meat for tacos. It all depends on how bold or mild you like your taco meat to be seasoned!
1/4 cup Chili Powder
1 T. Garlic Powder
1 T. Onion Powder
1 T. Sea Salt
1 T. Cumin
1 T. Paprika
1 T. Black Pepper
1 T. Oregano
Yes, that is correct, I use 1 T. of all spices except the Chili Powder!
Some people like to add a sprinkle of the Crushed Red Pepper. I do not like it in the mix so I add it to my meat when I want to add a bit more zip to the recipe!
Stir the spices together and store in an airtight container or bag.
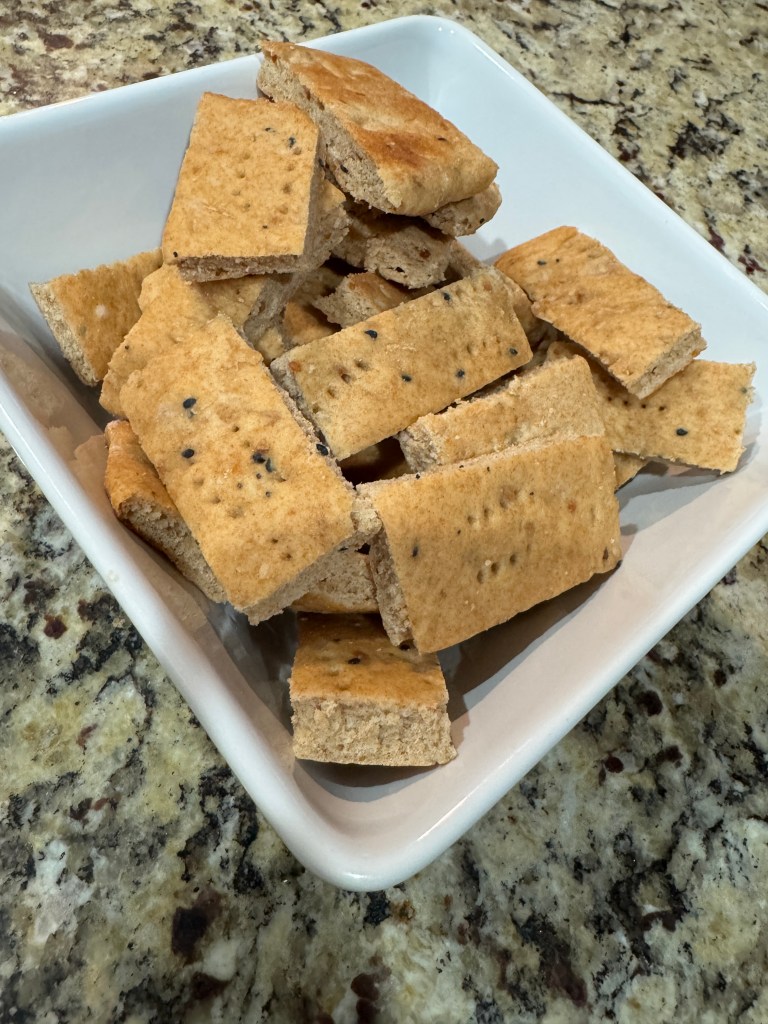
Pour the water into a large bowl. Sprinkle the yeast onto the water, followed by sprinkling on the sugar. Let it rest for 5 minutes.
Add the following in order given:
1 T. olive oil
3/4 t. salt
1 c. flour (to be creative you can use rye, whole wheat, gluten free….)
optional ingredients like Everything Bagel, garlic, olives, rosemary, and more
Stir well. Add:
1 c. flour (I use unbleached organic flour)
Knead the flour in until the dough is only slightly sticky. Press the dough onto a greased (I spray with PAM) jelly roll pan. (If you are using a baking stone ~ like my Pampered Chef stones! ~ use butter to grease the stone.). Press into any shape you desire. Make it as thick/thin as you want. Just know that the thinner the bread, the lesser the time and the thicker the bread, the longer the time.
I usually make mine into an 10″ x 14″ rectangle in a jelly roll pan. I poke with a fork all over the top of the crust.
Let the dough rest/rise for about 15/20 minutes while the oven is warming up to 425°. Bake for 10 minutes for thin bread and about 15 minutes for thicker bread.
This bread is a flat, thin bread! Serving it warm is best.
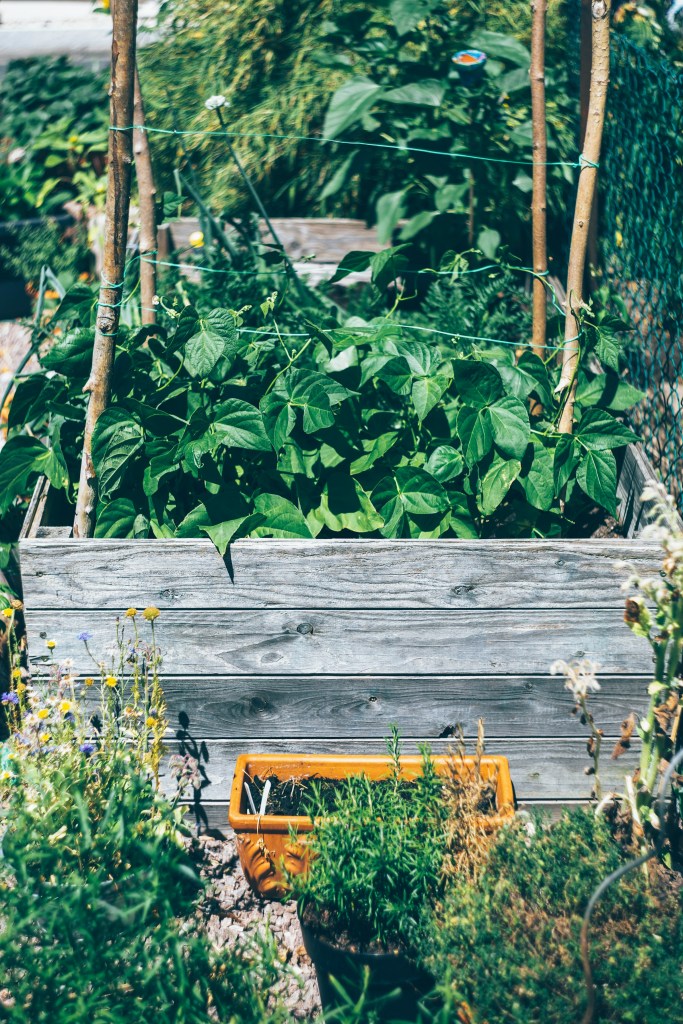
Every year is a little different so please read this recipe and know that you can adjust it as desired according to the amounts of what you have. I use as much as I can from the garden or a farmer’s market. But honestly, there have been years that I ended up using carrots from the store! I have always used store onions I guess.
ONIONS ~ peel. cut in half. slice each half. place slices into a quart size jar. This means there is 1/4 of an onion at the bottom of the jar. If you desire to just put a quarter of an onion in the jar, feel free. Also, there have been times that I have measured 1/2 cup of diced onions into each jar instead of doing the slices.
CARROTS ~ wash. cut into coins about 1/2″ thick. Place about 1 cup of prepared carrots into the jar.
GREEN BEANS ~ wash. cut into 1″ – 1 1/2″ pieces. Place about 1 cup of prepared green beans into the jar.
RUTABEGA ~ peel. dice into 1/2″ – 1″ pieces. Place about 1/2 cup of prepared ruti into the jar.
Crooked Neck Squash ~ wash. cut off both ends. slice off the crooked neck and cut into 1″ chunks. slice the bottom part in half lengthwise. lay each half on the cutting board and slice in 1/2 or 1/3 if it is fairly large. slice into 1″ chunks. Place about 1 cup of prepared squash into the jar.
GARLIC ~ so… some years I have peels bulbs of garlic and placed 4 large pieces into the jar. some years I have purchased the large jar of minced garlic and scooped a hefty tablespoon full into the jar. I just know that we like garlic and onion, so I use generous amounts!
SALT ~ 1 teaspoon, slightly rounded, canning salt
WATER ~ when we had good well water, I would fill my jar with HOT water straight from the tap. Of course leaving the proper headspace. The past few times I made this, I used water we that we purchased from the store to drink (spring water) just at room temperature.
Boil your lids (I usually have mine ready so when I put the water in the jar, I immediately place the lid and ring on, then place it in the pressure canner.). place lids and rings on. place jars into the PRESSURE CANNER. I never have used the hot water bath method with this recipe.
When the pressure canner gets up to 10 pound pressure, set the timer for 40 minutes. I keep the pressure at least at 12 pounds and never higher than 15 pounds. When the timer goes off, turn off the burner and let the canner come down to 0 pounds while still sitting on the turned off burner. Remove jars and let them sit on the towel on the countertop or table for at least 24 hours before removing rings and washing jars clean.
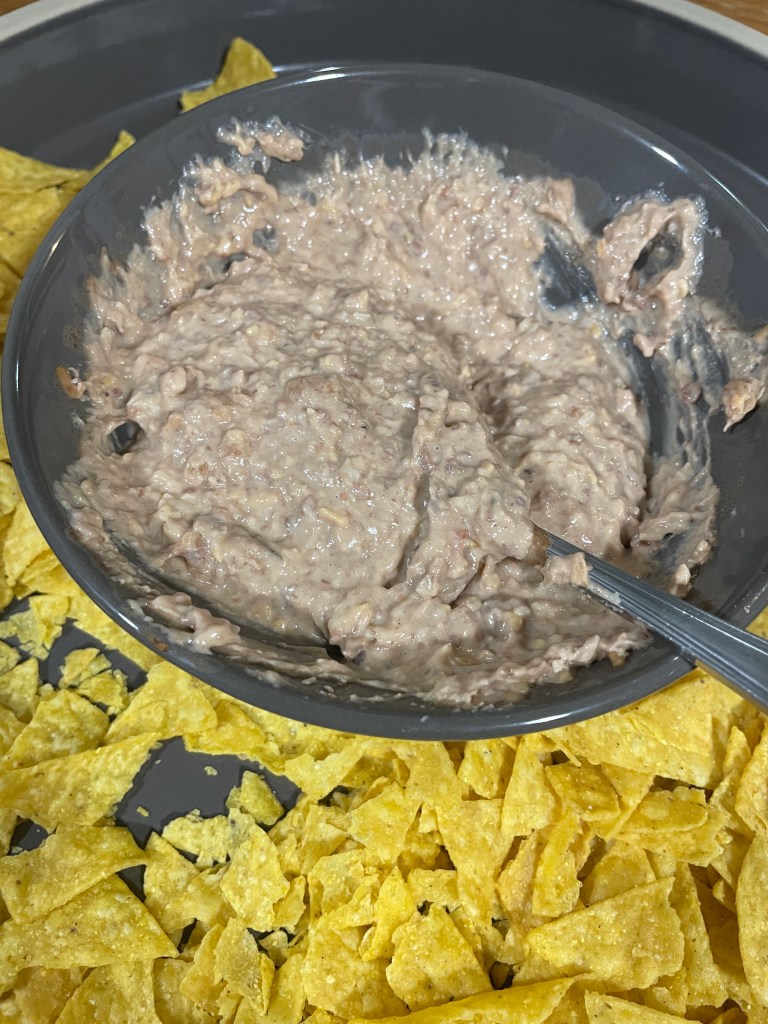
While beans are heating up, mix together in a bowl:
8 oz soft cream cheese
1/2 c. sour cream
1/2 – 1 cup salsa
1/4 cup canned jalapeños (I use home canned for this as well) chopped up, optional
When beans are very hot, use a hand mixer to mash them up. Add the bowl of ingredients and mix again. After it is well mixed, add 3 – 6 cups shredded cheese and mix again. ~~~~~~~ I sometimes use fine shredded cheese and it takes less. If it is thick shredded cheese, you will want to use a bit more. And some people like it super cheesy while others like it less cheesy. You will have to decide. But for sure you will want the 3 cups.
Serve warm with chips, quesadillas, chicken tenders/nuggets/fries, burritos, and so many other things!
2 cans cream of chicken (or mushroom or celery) soup
3 c. turkey (or chicken) cooked & cubed
6 – 9 oz. frozen peas (uncooked)
1 t. pepper
1 T. granulated garlic
1 T. granulated onion
Spray a 9×13 pan with PAM. Spread mixture into pan. Place pan on the center rack in the oven. Turn oven on to 400°. Let the oven heat up while you are making the biscuits.
BISCUITS:
In a large bowl mix together well:
3 1/2 c. flour
1/2 c. powdered milk
1 T. baking powder
1/2 t. salt
1 t. onion powder (can be omitted if you are making this biscuit recipe for eating with jam on it!)
1 t. cream of tartar
After the dry ingredients are well blended add:
1/2 c. shortening (I always use butter flavor Crisco, but others have had success using Lard!)
Use a pastry blender and cut the Crisco in very well. Now make a small well at the center of the dry ingredients. Pour in:
1 c. cold water
Stir until it’s too hard to stir and then use your hand to completely mix. Almost slightly kneading it. Just until it’s all stuck together. Do not over work the batter/dough.
Remove the turkey pan from the oven.
Divide the dough into 6 equal pieces. Create 6 biscuits to cover the pan, flattening using your hands. Place biscuits onto the mixture as you complete each biscuit. Return pan to the now preheated 400° oven. Bake for 20-25 minutes. Until the biscuits are browned.
2 c. Washing Soda (some people use a natural supplier, others use Arm & Hammer brand)
3 c. Borax
2 c. baking soda
1 bar Fels-Naptha soap, grated
1 c. Oxi-Clean Stain Remover powder (Or the like if you choose a different brand)
To use, add 1 T. to a regular load of laundry. If laundry is very dirty, it might be best to run a batch through complete cycles with the 1 T. of laundry detergent instead of increasing the detergent amount. However, if it’s just a little bit dirtier than a normal load, go ahead and add another 1/2 T. to the load. If you are running super size loads, you can try using 1 1/2 T. on a regular basis. You will have to “play” around with it according to your washer capacity and water type. The temperature of water can sometimes play into the amount of detergent needed. Did you know that cold water cuts soap and that is why the rinse cycle on washing machines is typically cold!?
I like the thought of making a small batch of detergent instead of doing the huge batch in a 5-gallon bucket and storing it for a whole year!!!!
Here is the BIG BATCH recipe if you want to make it:
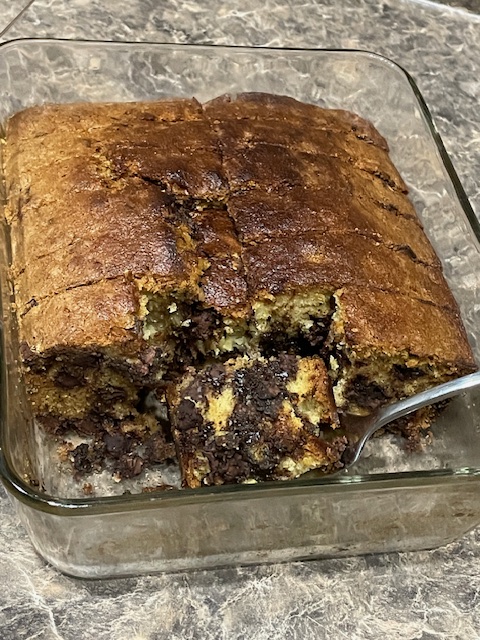
When it is all blended well, keep the mixer on low speed, slowly add:
2 1/2 c. flour
Scrape the bowl and make sure everything is mixed well. Stir in:
2 – 2 1/2 c. chocolate chips
Spray you pan(s) with cooking spray or else grease and flour your pan. I generally use a 7″ x 9″ size pan! The original recipe is for 2 of the 4″ x 8″ loaf pans. Bake at 350° for about 1 hour. If it is too gooey, put it back to baking for another 10 minutes. You do not want it to be under cooked!
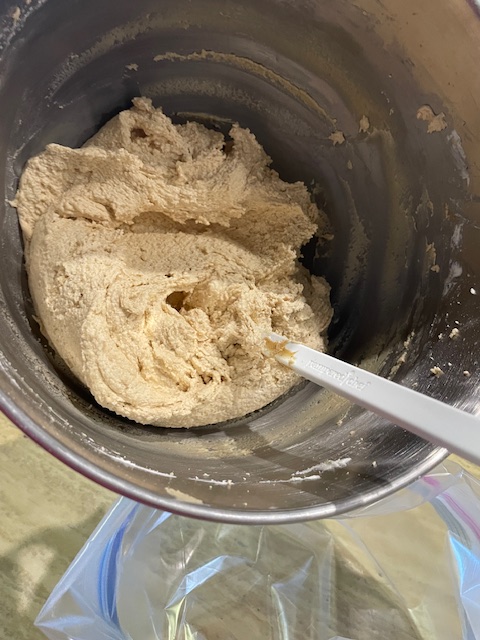
Beat well again. Sometimes I add more powdered sugar and sometimes I leave it creamy. If you want your filling more stiff, turn the mixer on again and slowly add:
1/2 – 1 c. powdered sugar
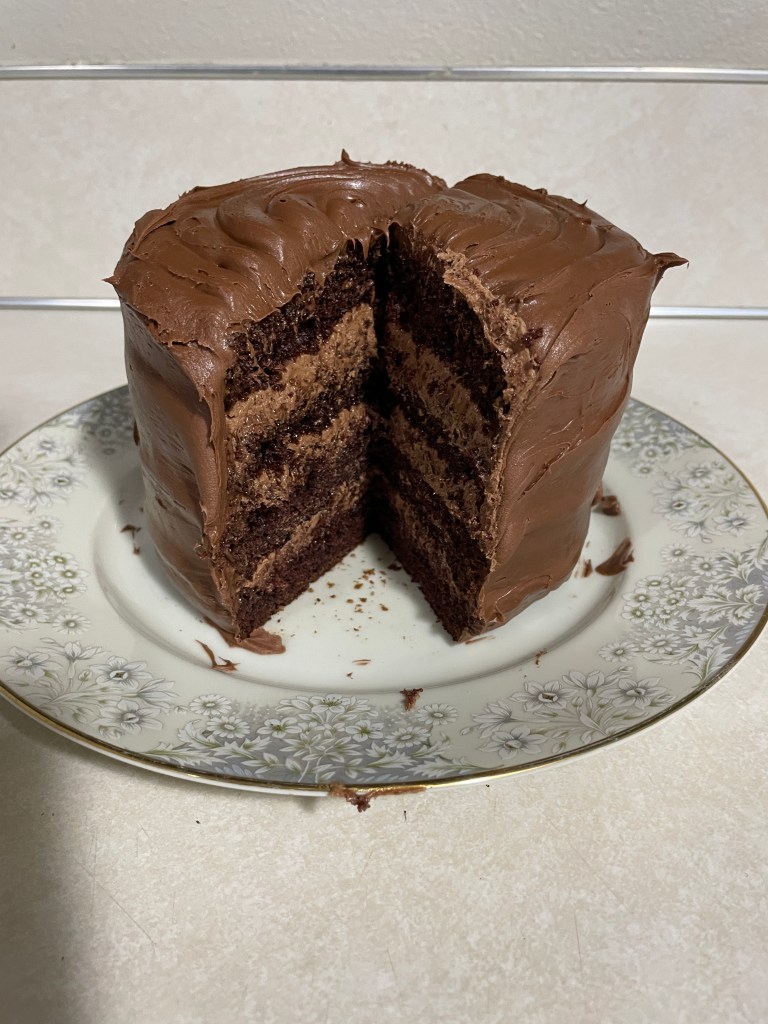
I use the Wacky Cocoa Cake recipe (here is the link: https://betsysbakingblog.com/2020/03/01/wacky-cocoa-cake/ ) to make cupcakes. When they are cooled, I cut out the center and fill with this filling and then place the center back on top of the cupcake. Maybe some day I will take a video and post it here on how I do it. And then I frost with whatever frosting we desire. Most often it is a tub of Betty Crocker’s milk chocolate frosting.
YOU CAN USE ANY TYPE OF BERRY FOR THIS FILLING, HOWEVER, I GENERALLY ONLY USE RASPBERRIES. I ALSO USE THIS RECIPE FOR ON CHEESECAKE, ESPECIALLY WITH BLUEBERRIES. AND I HAVE ALSO USED A MIXTURE OF BERRIES THAT ARE LEFT OVER AND IT WORKS GOOD.
In an 8-quart pot, mix together:
1 c. granulated sugar
1/2 c. cornstarh
2 c. water (or juice from the berries)
Stir very well. Place the pot on a burner at medium heat. Stir constantly. Just before the mixture comes to a boil, add:
1 c. slightly crushed berries
Boil and stir until it reaches desired thickness. Remove it from the heat and stir in:
1 T. vanilla (optional)
up to 3 c. berries (you decide how many berries you want in your filling). If you are using strawberries, it is suggested to cut them into pieces.
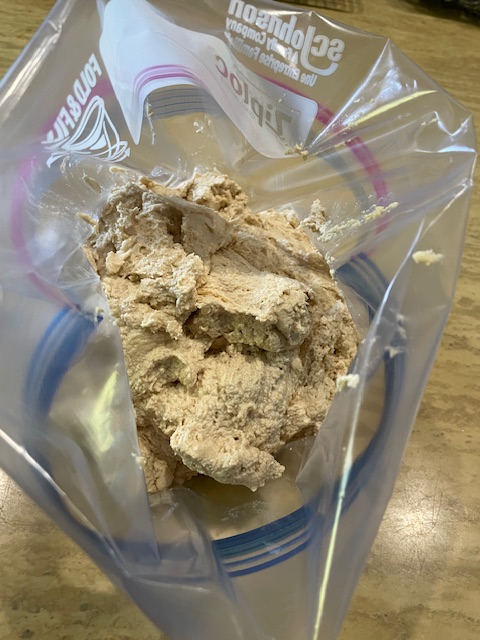
Cool the filling completely. I pour it into my mixer bowl from the cooking pot to speed up the process. I set it in the fridge often as well. When it is cooled, beat it well and then transfer into a Ziploc bag. Cut off one of the corners at the bottom of the bag and pipe it into the cupcake centers. Or else use a rubber scraper and use as filling in a layered cake.
USE FOR FILLING CUPCAKES OR A REGULAR LAYERED CAKE
Stir together in a pot:
1 c. granulated sugar
1/2 c. cornstarch
1 c. milk
Place the pot on a burner turned on to medium heat. Stir well and let it warm up while you quickly mix together:
3 egg yolks
2/3 c. lemon juice
Pour into the pot and continue to warm up. After a few minutes, add:
1/4 c. butter, cut into pieces
Stir continually so it does not scorch. It will thicken as it cooks. Remove from heat when it reaches desired thickness. Remove from heat.
Cool for a few minutes and then pour into a bowl to cool on the countertop for another 15 minutes before placing in the fridge if you are not using it immediately.
HOW TO USE:
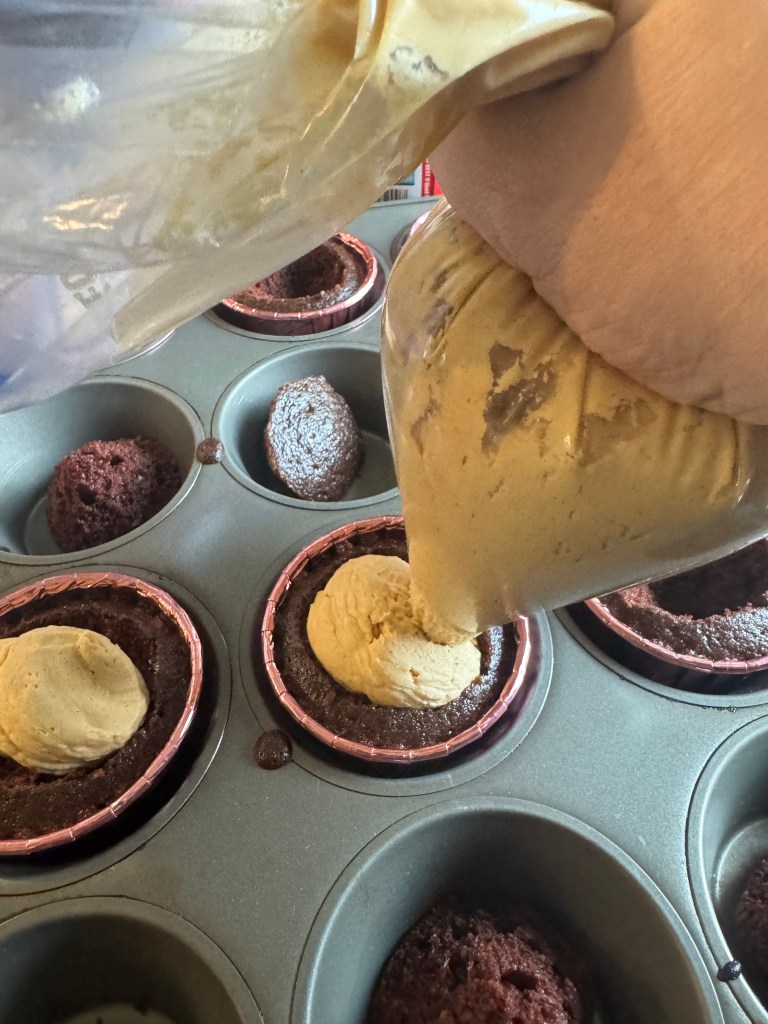
If you are using the filling immediately, be sure that it is not hot, but brought down to room temperature. I put the filling into a plastic storage bag, cut the bottom corner off of the bag, and “pipe” the filling into the center of the cupcake. If it is for a layered cake, I spread it on with a rubber scraper.
If you are refrigerating it and using it later, you also need to bring it to room temperature when you are ready to use it. When it is almost to room temp, place it in a mixing bowl and beat with hand beaters if you want to stand and work with it. Otherwise, place in the mixer (I use a Kitchen Aid) and let it beat for a few minutes, scraping the sides as needed. Now you can pour it into the Ziploc bag for filling cupcakes or spread on the layered cake.
I like to make the cake/cupcakes about 12-24 hours before serving because they cake absorbs some of the filling and it is more flavorful. Ultimately, we know they have to be refrigerated, but let it set on the countertop a few hours before serving so that it is not hard and cold. Refrigerate leftovers.