Rub the mixture onto your meat ~ roughly 100 pounds. Set your meat into the following brine. Use a covered bucket, tub, or container.
TUB BRINE:
In a large tub/bucket/container mix:
2 pounds plain salt
2 pounds brown sugar
1 c. Tender Quick
4 – 5 gallons water
Let this meat soak, checking it, maybe having to turn/rotate it for about 2-3 weeks. The thing to be careful of is I can’t tell you specifically what your meat needs. Thicker pieces take longer, thinner takes less time! You want the brine to reach the middle of the meat. Only time will do that. But also, we have injected brine into meat before using a large injection needle and filling it with the brine. The idea is to make sure all the meat gets cured. It is very important that you store your meat from 38 to 43 degrees. You do not want to end up with rotten meat from not handling it properly. I suggest you find better instructions if this is your first time making your own ham or bacon!
Also, we smoked our bacon sooner than the ham since it was cured faster. Keep these things in mind as you are preparing to smoke your meats.
Rubbing your meat with peppercorns before smoking it is optional. As is pouring maple syrup on it. There are plenty of ideas!
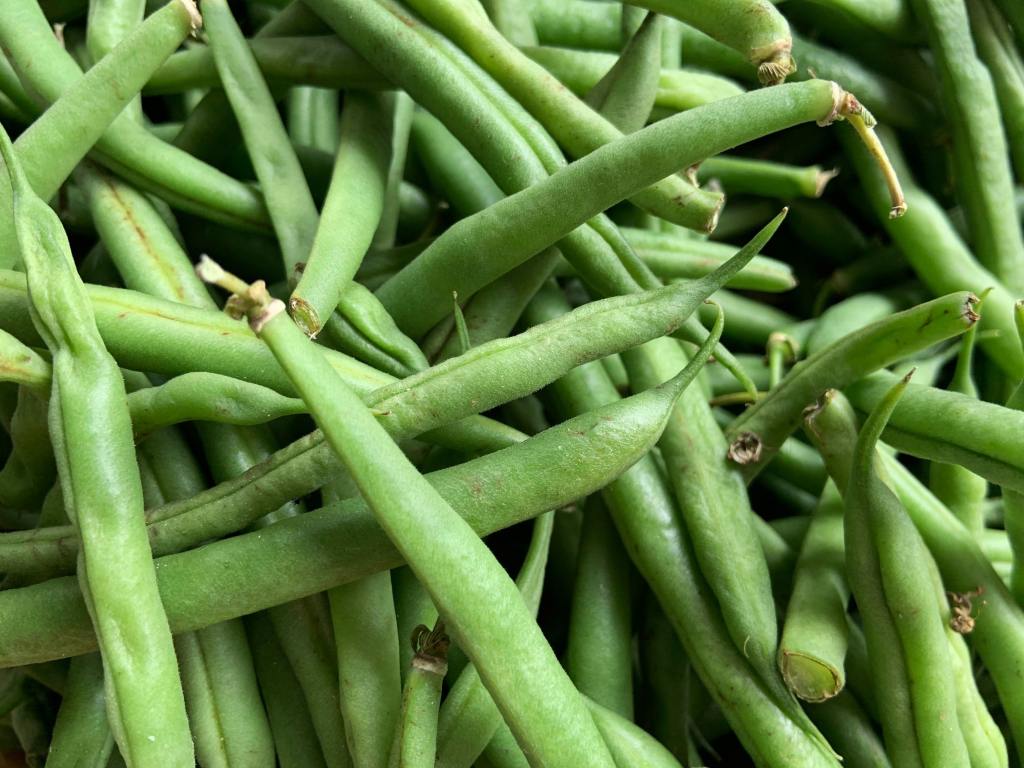
Sort out tender fresh green beans without removing the stem end. Leave them all whole! They should be about the length of a pint size mason jar or shorter.
Place in the bottom of pint size mason jars:
1/4 t. cayenne pepper (optional)
1 large head of dill
1 clove of garlic
onion slice
I cut my onion in half and then slice them about 1/4″ thick. I place one of the full slices into the jar. Then I fill the jar with the beans, standing up so that the stem is at the top. When you go to eat them from the jar, you pull the stem to remove it from the jar!
Pour the hot salt water solution over the beans. Adjust the lids and rings. Process in a hot water bath canner for about 10 minutes. Sometimes it has been 15 minutes and they start getting mushy.
1 1/2 c. cream (heavy whipping cream works, or half & half, or even whole milk)
Make a well in the center of the dry ingredients. Add the milk & egg. Stir just until combined. Do not over mix. Turn onto a floured surface. Roll dough out to about 1/2″ thickness. Cut into desired sized squares for fast & convenient OR use a round biscuit cutter and make rounds!
Place onto a greased cookie sheet. Bake at 350 degrees for 15 minutes, or until golden brown.
Set cooled biscuit on a small plate with a scoop of vanilla ice cream. Top with fresh berries. I generally just do chopped strawberries, but of course you could do these with an berry or even a mixture of berries. It is a good biscuit, but often I add sugar to the berries to make them tastier!
~This recipe was inspired by the Skamania Lodge baker. Years ago she gave me the recipe. It was by weight. It was a HUGE batch for making 100s of these shortcakes. It sat in my cookbook a good year before I tackled it. I adjusted it to reach my expectations. I made them all the time for a few years, but since have quit since we really don’t eat wheat that much anymore. I may attempt them with a GF flour another year!
~Remember! You stir after you add each ingredient to the peaches!
Pour into a 9″x13″ pan. Bake at 350 degrees while you are preparing the biscuit/cobbler topping.
Sift together:
2 c. flour
1 c. granulated sugar
1 t. baking powder
1/2 t. salt
1/2 t. nutmeg
1/2 t. cinnamon
Using a pastry blender, cut in: 1/2 c. cold butter
Set aside.
In a separate bowl mix:
1 egg, well beaten
1/4 c. milk
Pour into the center of the dry ingredients. Form a semi-sticky dough. Turn onto a lightly floured surface. Divide dough into 12 equal pieces. Form each piece into a “patty” using lightly floured hands. These 12 pieces should fit onto your peaches in the 9″x13″ pan so keep that in mind as you are forming them.
Place the biscuits onto the peaches. Bake at 350 degrees for about 1 hour. The biscuits will be golden brown!
~I actually don’t count how many peaches I use because sometimes the peaches I end up using have bad spots or I have been canning and there weren’t enough to make a full canner full. Either way, I use my pan as my measuring device! I fill the pan about 3/4 of the way full and then dump them into the bowl to mix with the ingredients before returning them to the pan and starting the baking process.
Do you wanna hear a story!?
Jon & I have sold peaches for years. One lady assumed that I knew how to make peach cobbler. She asked me to make enough peach cobbler for about 150 people for her. I told her my version of using a white cake mix and baking it. She didn’t want that. She said she wanted a traditional peach cobbler. So, I set to work. I HAD NEVER MADE A REAL PEACH COBBLER IN MY LIFE!!!!
We tried a few recipes but there was always something lacking. The frustrating thing is: I DON’T EAT WHEAT! How to do this!? They say the third times a charm. It really was. I make up this recipe and I liked it. The family liked it.
I hesitated a bit at first, but then was confident! They will love this peach cobbler!
Sure enough. I got glowing reports. I sighed, relieved that it was acceptable to them as well. And I am not sure what makes my recipe different but that’s ok. WE like it! I hope you do as well.
Quickly remove from the heat so it doesn’t end up boiling for long. Add:
1 c. creamy peanut butter
Stir fast. When it is well blended, pour it over:
6 c. Special K cold cereal (Rice Krispies works, too)
Press into a greased 9″x13″ pan.
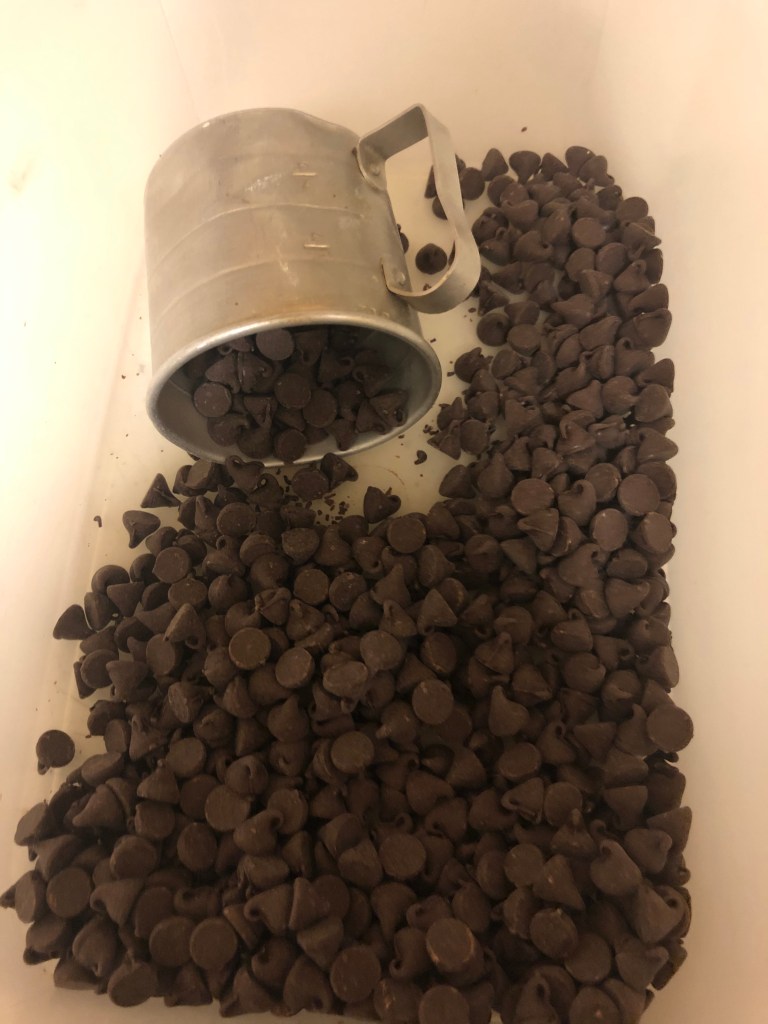
Melt together:
1 c. butterscotch chips
1 1/2 c. chocolate chips
Frost the bars. Leave uncovered on the counter top for a few hours. At least until the chocolate frosting is firm. DO NOT REFRIGERATE! This causes the bars to get to hard. Also, after chocolate is set on top, cover the pan/bars. This will help them stay soft.
They taste best if eaten within the first day.
I often use only chocolate chips to frost them.
I double the batch and make them in a cookie sheet.
I don’t use a 9″x13″ PAN. I use the Tupperware 9″x13″ container with the lid. This is the best way to store them!!!!
Spread a thin layer of sour cream on the bottom of a 9″ x 13″ pan. Lay a large tortilla flat on top of the sour cream. Spoon on a 1/2″ layer of the filling. Lay a tortilla down on the filling. Spoon on more filling, lay on another tortilla. Keep going until you end with a tortilla on top. Spread another thin layer of sour cream on top of the tortilla. Bake uncovered at 400 degrees for about 30 minutes.
SPECIAL NOTES: I actually don’t ever follow this recipe. This is just a guideline. I love making extras when I make tacos just to do this recipe. I just gather up all the left overs into one pot and stir well. Then I make the lasagna. Often times I will make it in a disposable pan and cover it tight with tin foil and FREEZE it! I love being able to grab it out of the freezer in the morning and let it thaw on the counter. Come dinner time I pop it in the oven and bake accordingly. There have been times that it is frozen and I just let it bake at 300 for an hour, then crank it up to 400 and uncover it, then bake for the 30 minutes. We love this!
Oh, another thing. I have made it with left over hamburger meat seasoned with the taco seasoning and we aren’t as fond of it. Other people seem to like it, though.
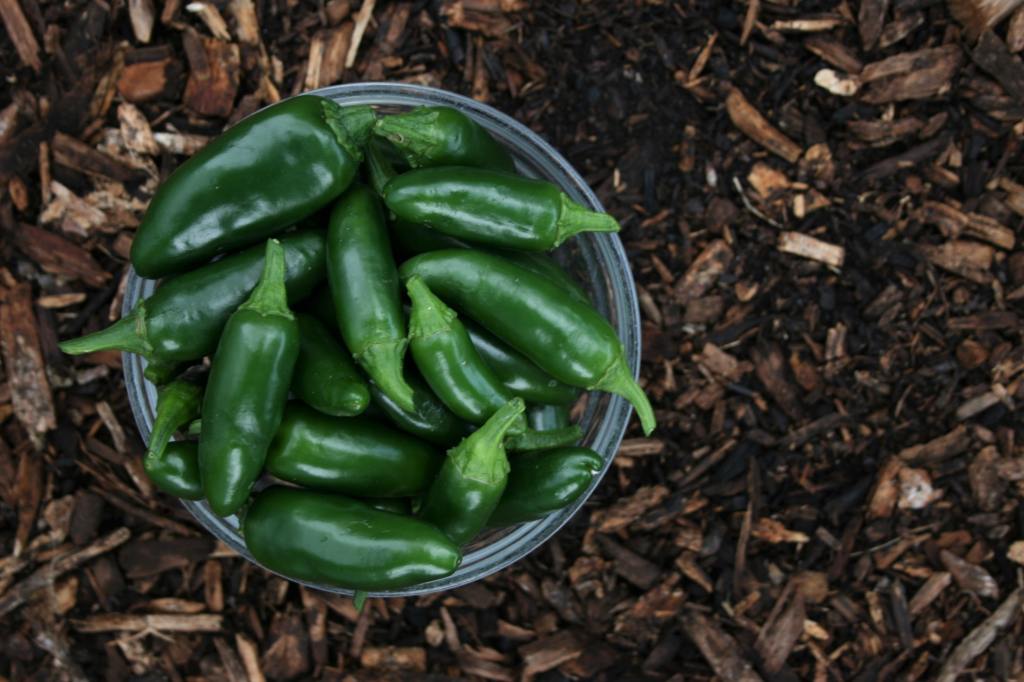
I wash all the vegetables, then sit down in front of the food processor with a bountiful bowl AND GLOVES ON TO PROTECT MY HANDS! I have another empty bowl ready to fill with my chopped veggies. I cut off the stem of the tomatoes and squeeze out the juicy part and then chop to 1/4 inch diced pieces. Next I cut off the stem and core of the jalapenos and dice to tiny pieces. I make sure there is a good number of seeds still. I even hold some of the seeds off to the side just in case I want to add more to make the batch spicier. (I actually will chop the jalapeños and only use a portion of them, reserving some in a small cup/bowl to add to the batch later. I do a taste test at the end and add more jalapeños if needed.) The bell peppers get cored and chopped, along with the onion. I like 1/8 inch size diced pieces of them. I use scissors to cut the cilantro, including the tender parts of the stem! The tomatillos get peeled and the stem cored and chopped small, but not pureed. Stir it all together with the cumin and salt. Now transfer it to a colander. Let it drain for about 30 minutes. Some people like to drink that juice!!!! I stir the mixture well after draining it. Sometimes I let it set longer and other times I just transfer it into pint and half pint canning jars. Eating it fresh is best. I store it in the refrigerator for up to 2 weeks and then if there is any left over it gets dumped into the meatballs, meatloaf, Mexican lasagna, Yum Bowl left overs casserole. . .
Something else: I often make this with tomatoes from the garden. I will squeeze the cherry tomatoes and pop them into the food processor to mix in! Or the yellow tomatoes? Yep. There were some tomatoes that were huge red and green lumpy looking things. They got the stem pulled off, bad parts cut off, juice squeezed out, and processed, too. The variety adds diversity to flavor.
Another thing: Some people like the taste of jalapenos but not the hot. More seeds make it hotter. Less seeds make it more mild. Adjust accordingly. I tend to err on too mild because you can add more seeds but not take them away. I also will put a few larger chunks of the seeded jalapeno into a few jars, add the salsa, and let it set like that until those who like it spicy eat it. This helps to distinguish what jars are spicy and which are mild.
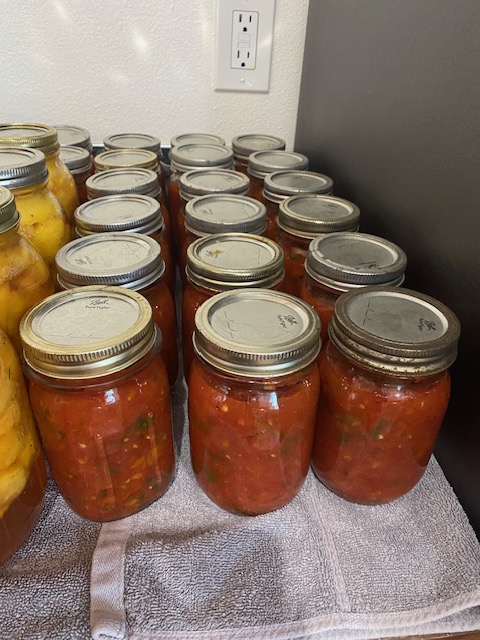
I HAVE CANNED THIS RECIPE, TOO!
If you want to can it: Cook salsa in a large pot, ladling off excess liquid. Fill PINT size jars with HOT salsa. Process lids and rings on the hot jars. Use the hot water bath method, processing in the boiling water for 20 minutes. Some people say this is not a secure, processing method because of the tomatoes and no vinegar and what all else. I have not had a problem with this way of doing it. I do know it isn’t as tasty as fresh and some of my family doesn’t even like this home canned stuff. However, I use it often in my cooking and people love it! Just be cautious and forewarned.
Fill PINT size or smaller canning jars with sliced jalapenos. Pour boiling vinegar water over. Adjust lids & rings. Process in a hot water bath for 10 minutes.
Pour boiling brine over the cucumbers. Prepare jars for hot water bath. Process PINT jars with sliced cukes for 10 minutes. Process PINTS with spears or whole cukes for 15 minutes.
I let the jars set for about a month before eating any of them.