Cook over medium heat, stirring often and then constantly so it doesn’t get scorched on the bottom! Boil for a full minute. Remove from heat. Stir in the gelatin. Be sure it is well blended. Chill completely. I use the freezer for maybe 20 minutes and then stir it again and place in the fridge until it is cooled. Remove from the refrigerator and blend in:
1/2 t. vanilla
1/2 t. almond extract
1/2 c. whipping cream, whipped
Beat together:
3 egg whites
1/2 c. granulated sugar
1/4 t. cream of tartar
Fold into the mixture. You want it to be blended together, but not beat hard. Stir in 2 cups of coconut and pour into a baked pastry pie shell. Refrigerate for at least 4 hours but overnight or all day is best! ~~ I haven’t made this for a few years actually! But what I do remember doing is making the first part of the recipe before I went to bed and then finished it quickly in the morning when it had cooled all night in the fridge. Then it would have all day to set before serving in the evening. This is a fantastic “coconut cream pie” from scratch!
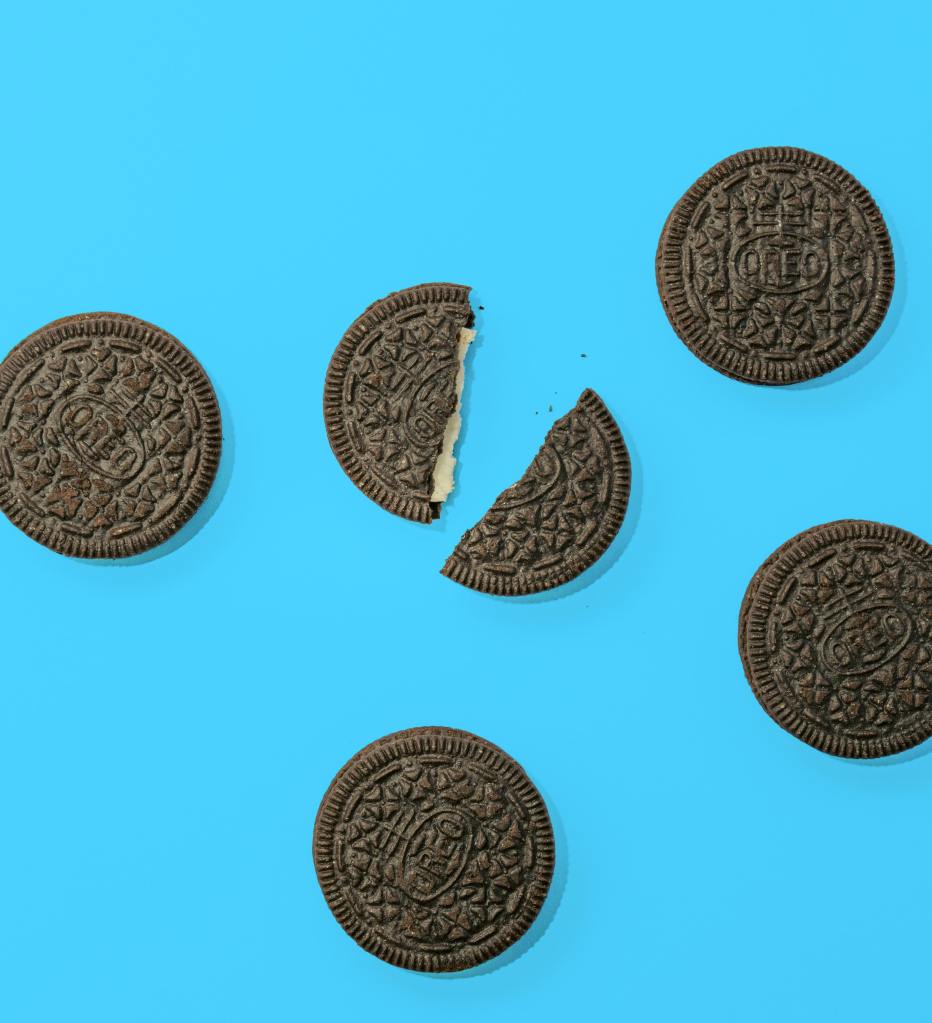
16 oz. package OREO cookies, crushed (I use the food processor to crush them)
1/4 c. butter, melted
Press into a 9″ x 13″ pan (I use the Tupperware 9″ x 13″ storage container with the lid) Freeze for about 15 minutes.
Set a half gallon of vanilla ice cream on the counter top while the crust is in the freezer. You don’t want it to completely thaw, but you want it soft so that you can literally spread it onto the crumbs. After spreading the ice cream over the Oreo crust, return to the freezer until the ice cream is firm again.
Pour on a 10 oz. jar of fudge topping.
Drizzle on a 10 oz. jar of butterscotch or caramel topping.
Spread an 8 oz. tub of Cool Whip over the toppings.
Press crushed/chopped candy bars on top. We have used Heath Bars, SKOR bars (although I haven’t seen these for a long time ~ Toffee Bits sold next to the chocolate chips at the store would be similar), Snicker Bars, and small caramel candies once. Even adding a few sprinkled nuts is good.
For some reason to press the topping into the Cool Whip makes it taste better! Although, that probably just in my head.
Freeze it until 10 minutes before ready to serve so that it warms up enough to cut into pieces and serve.
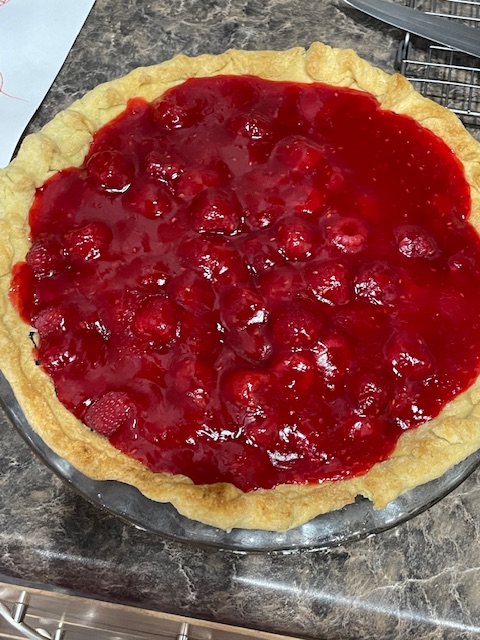
Fill a baked pie crust with desired amount of raspberries.
~~~I have to make this note here at the beginning of the recipe. ~~~
If you are using disposable 9″ pie plates, they are more shallow and you will maybe use 2 baked crusts. HOWEVER, I use my nice glass pie plates that are deeper and this recipe is for one of these pies with a little extra but not much. Enough extra for the children to lick off of spoons. Or for me to pour over a custard cup full of raspberries for myself since I do not eat the flour crust!
OK! So take your prepared pie shell however you decide to do this. Fill it with fresh raspberries (I never use frozen berries for this recipe!)
Combine in a pot:
1 1/2 c. sugar
1/2 c. corn starch
2 c. water
2 T. lemon juice
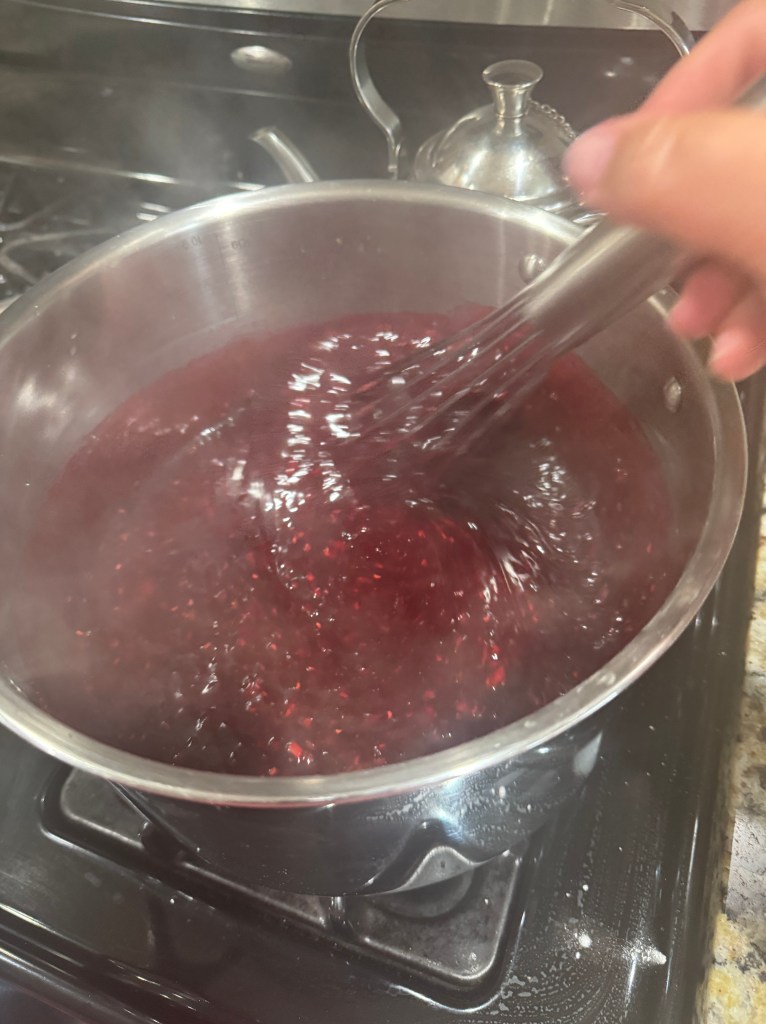
Bring to barely a boil, stirring constantly. Add:
1/2 c. crushed raspberries
Boil until thickened.
Remove from heat. Stir in:
3 oz. package Raspberry Jello
Pour over prepare pie shells of raspberries. Refrigerate quickly. Serve after several hours when it is firm.
Get the following ingredients lined up next to your blender (I use my VitaMix):
1 1/4 c. chocolate chips
1/2 c. boiling water
1/2 c. peanut butter
3 T. granulated sugar
4 eggs (slightly beaten)
Chop the chocolate chips at medium speed for 10-15 seconds. Scrape down the sides. Pour in the boiling water. Blend for about 10 seconds. Add the peanut butter and sugar, then blend. Add the eggs. Beat quickly until smooth. You have to work quickly so that the hot water keeps hot to slightly “cook” the eggs. Pour it into a ready made crust of choice. I generally use a graham cracker crust. But I have also used shortbread crust, a nut crust, and gluten free cookies crust. Refrigerate uncovered for several hours. Then cover and refrigerate until ready to serve.
~~~ The original recipe is just 1 cup of chocolate chips but it seems that I am always sprinkling in more than just 1 cup. I almost always add more chocolate chips than the recipe calls for. In all recipes. I’m just kind of like that. It’s better that way! Who likes chocolate chip cookies with 5 chocolate chips per cookie? Anyways, enjoy the pie!
Set bowl aside. Peel, core, and slice 4 c. apples. Place them into an empty bowl. Toss with 2-3 T. flour. Stir both bowls together and then pour into a pastry lined pie plate. Bake at 400 degrees for 20 minutes.
Meanwhile, mix together the crumb topping:
Mix together:
1/4 c. butter, melted
1/3 c. flour
1/2 c. brown sugar
1 t. cinnamon
1/2 t. nutmeg
Crumble together and sprinkle on top of the apples after the first 20 minutes of baking. Return to the oven and bake for about 20 more minutes, or until the apples are baked well.
Turn dough onto a floured surface (about 1 c. of flour). Sprinkle the top of the dough with another cup of flour. Knead in about 1 c. flour, but make sure there is still flour on the counter top. GO WASH YOUR HANDS. DRY YOUR HANDS COMPLETELY.
Rub a fine dusting of flour over the dough. Knead it just until it is soft and not sticky to your hands. If it still feels sticky after kneading it for another minute or two, go wash and dry your hands again and repeat this. I have done this hundreds of times so I know what the dough will feel like. To keep it a soft, moist bread you don’t want to knead it for really long, nor put too much flour! Too much flour makes a dry bread.
Pour about 3 T. vegetable oil into your bowl. Place dough in the bowl. Use the dough to wipe the oil around the bowl, ending with turning the dough over so there is oil on the top of the dough ~ just everything all oiled! Cover with plastic wrap or a damp muslin cloth. Rise to more than double! I like for it to take a long time because it seems to make softer bread, however, if it rises too long it will fall on it’s own. There are times when I am busy so I have to punch the dough down and it rises again, but not for as long. DON’T RUSH THINGS! Plan on it taking a long time. Let it do its work.
Grease your counter top with vegetable oil. Dump your dough onto the counter. Form the dough into a fat log and cut/divide into 8 equal pieces. This makes 8 large loaves. However, if you want smaller loaves, cut the dough into more pieces. I have only done as many as 12 loaves from this batch.
Now take ONE of the 8 pieces and cut it into either 3 or 4 equal pieces. To form braids, roll each of the smaller pieces into a 15″ to 18″ long rope. When all 3 or 4 pieces are ropes, lay them beside each other and start braiding. Start at the middle of the ropes and work your braid to the end, pinching the ends of the ropes together and tucking it under to hold the braid in place. Then go to the other side and braid the other half of the loaf, pinching and tucking as well. (To do this is hard for me to write!!!! I will eventually take a video of me doing it to show you what I am trying to say. Some of you will know what I am writing about and do it without instruction!!!!)
Place the braid onto a cookie sheet sprayed with PAM. I fit 2 loaves on a cookie sheet. I place them on so that the loaf is laid across the pan width not length. My braid is about 12″ long and sets on the cookie sheet that width. The length of my pan is about 17″ so 2 loaves fit on one pan. Let the loaves rise for about 1 1/2 hours. Again, DO NOT RUSH THINGS! I sometimes let it rise for even 2 hours. This makes my Nisu good!
Preheat oven to 325 degrees. You will be baking 4 loaves at a time, using 2 racks in your oven. Use the middle and lowest rack settings. Place pans in and bake for 15 minutes. After the 15 minutes, swap the pans so the bottom pan goes to the top and the top pan goes to the bottom. (And just to confuse you, but isn’t so necessary. It’s just somethings I do: I turn the pan so that the end of the pan that was at the back of the oven is now at the front of the oven!!!!) Now bake for 10 minutes longer. That is a total of 25 minutes in the oven!
Remove from oven. Gently remove the bread from the pan (I use a turner like I flip pancakes and eggs with to do this) and cool on a cooling rack. Some people like to eat it warm with jam or butter. I cool mine completely and then place into storage bags. If it is warm at all that is bad because it builds condensation in the bag and causes it to mold quickly. So cooling before storage is important.
This bread is NOT for making sandwiches. It is a sweet bread for snacks or desserts or breakfast. Some people use it to make french toast when it gets dried out. To make it like regular toast is good, too. Mostly we eat it as a dessert/snack with a cream cheese frosting. The recipe for the frosting is:
Cream Cheese Frosting:
Mix very well:
8 ounces cream cheese, soft, room temperature
1/2 c. butter, melted
Add in:
2 pound bag powdered sugar
Turn mixer on and start slowly stirring the sugar in but also slowly drizzling in:
1/3 c. milk
When it looks a safe, I turn the mixer to medium and just let it start working the frosting! Let it mix for 2 minutes even. I sometimes stop the mixer and scrape the bowl if it feels like that is best. Sometimes I end up adding a few more tablespoons of milk. I don’t know why it varies each time! Also, everyone likes a different consistency. If I double the batch I often end up using 3/4 c. milk even though it should only be 2/3 c. milk. Go figure. Use the frosting on top of the loaf before slicing or smear your slice with the frosting like it’s butter on bread! Enjoy!
~~~~ I WILL SEARCH FOR PHOTOS TO PUT ON.
~~~~~ I WILL TRY DOING VIDEOS OF SOME OF THE INSTRUCTIONS EVENTUALLY, TOO!
16 oz. can fruit cocktail, well drained (you can do more fruit if you so desire!)
2 c. small, colored, mini marshmallows
Don’t over stir, but be sure it is blended together. Refrigerate for at least 2 hours before serving. Letting it set over night is best, hence the name: 24-hour salad!